· Dash Checkout · order-limits · 9 min read
Flash sale checklist: 15 settings to check before you launch
A complete pre-launch checklist for Shopify flash sales covering inventory, purchase limits, discount setup, checkout validation, and post-sale review.
You’ve planned the discount, drafted the emails, and scheduled the social posts. The sale goes live in 48 hours. But have you checked whether your store is actually ready to handle the traffic?
Most flash sale problems are not marketing problems. They’re setup problems. One customer buys 30 units. A discount code applies to the wrong products. A payment method you forgot to remove shows up at checkout. These things happen when stores skip the pre-launch review.
This checklist covers 15 settings to verify before your sale goes live. Work through them in phases: before, during, and after.
Before the sale
Phase 1: Inventory and product setup
1. Sync your inventory counts
Check that your inventory numbers in Shopify match your actual stock. If you use a warehouse management system or third-party fulfillment, confirm the connection is working and numbers are current.
During a sale, overselling is the fastest way to damage customer trust. Orders that can’t be fulfilled lead to cancellations, refund requests, and bad reviews.
- Inventory counts match physical stock
- Third-party integrations are synced
- Out-of-stock products are hidden or marked correctly
2. Set maximum quantities per product
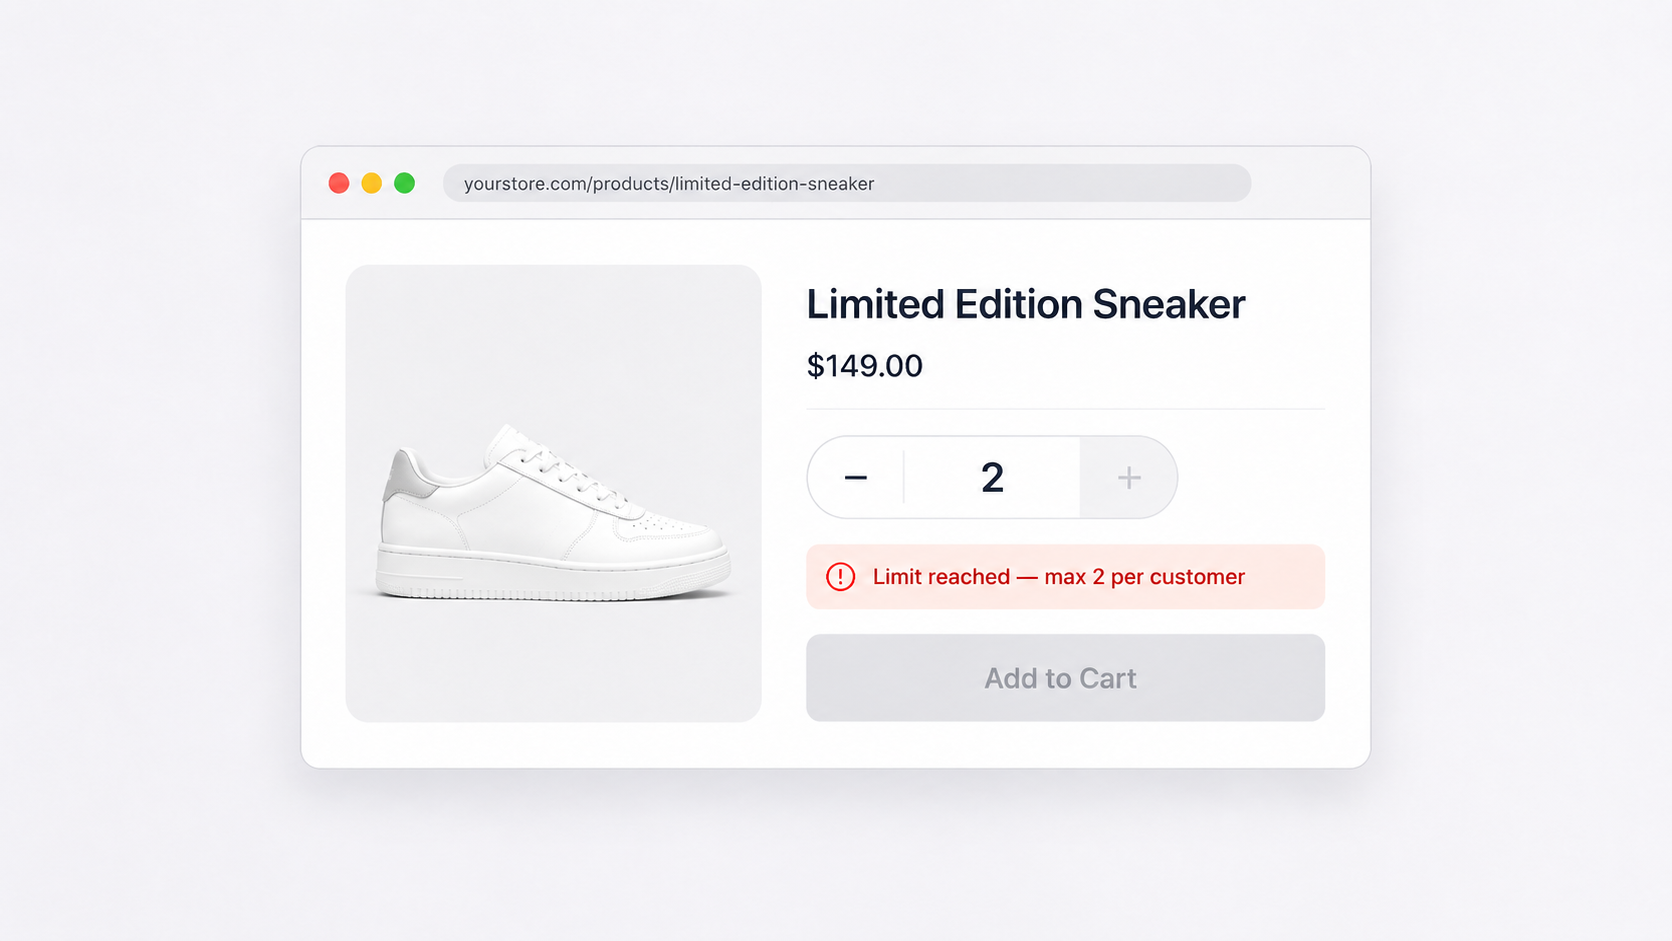
Without a per-order cap, one customer can clear your bestsellers before most people even open their email. During flash sales, this happens fast.
In DC Order Limits, set a maximum quantity rule on your sale products. Apply it using product tags (for example, a “flash-sale” tag) so you don’t have to select products one by one.
A cap of 3 to 5 units per product per order works for most stores. It gives real customers room to buy for themselves and a friend without leaving bulk buyers free to clean you out.
- Max quantity per product set on sale items
- Rule applied via product tags or selection
- Tested with a test cart to confirm it triggers
For more detail on the core inventory rules to set up, see Shopify inventory protection: 5 rules every store should set up before a sale.
3. Set per-customer lifetime limits
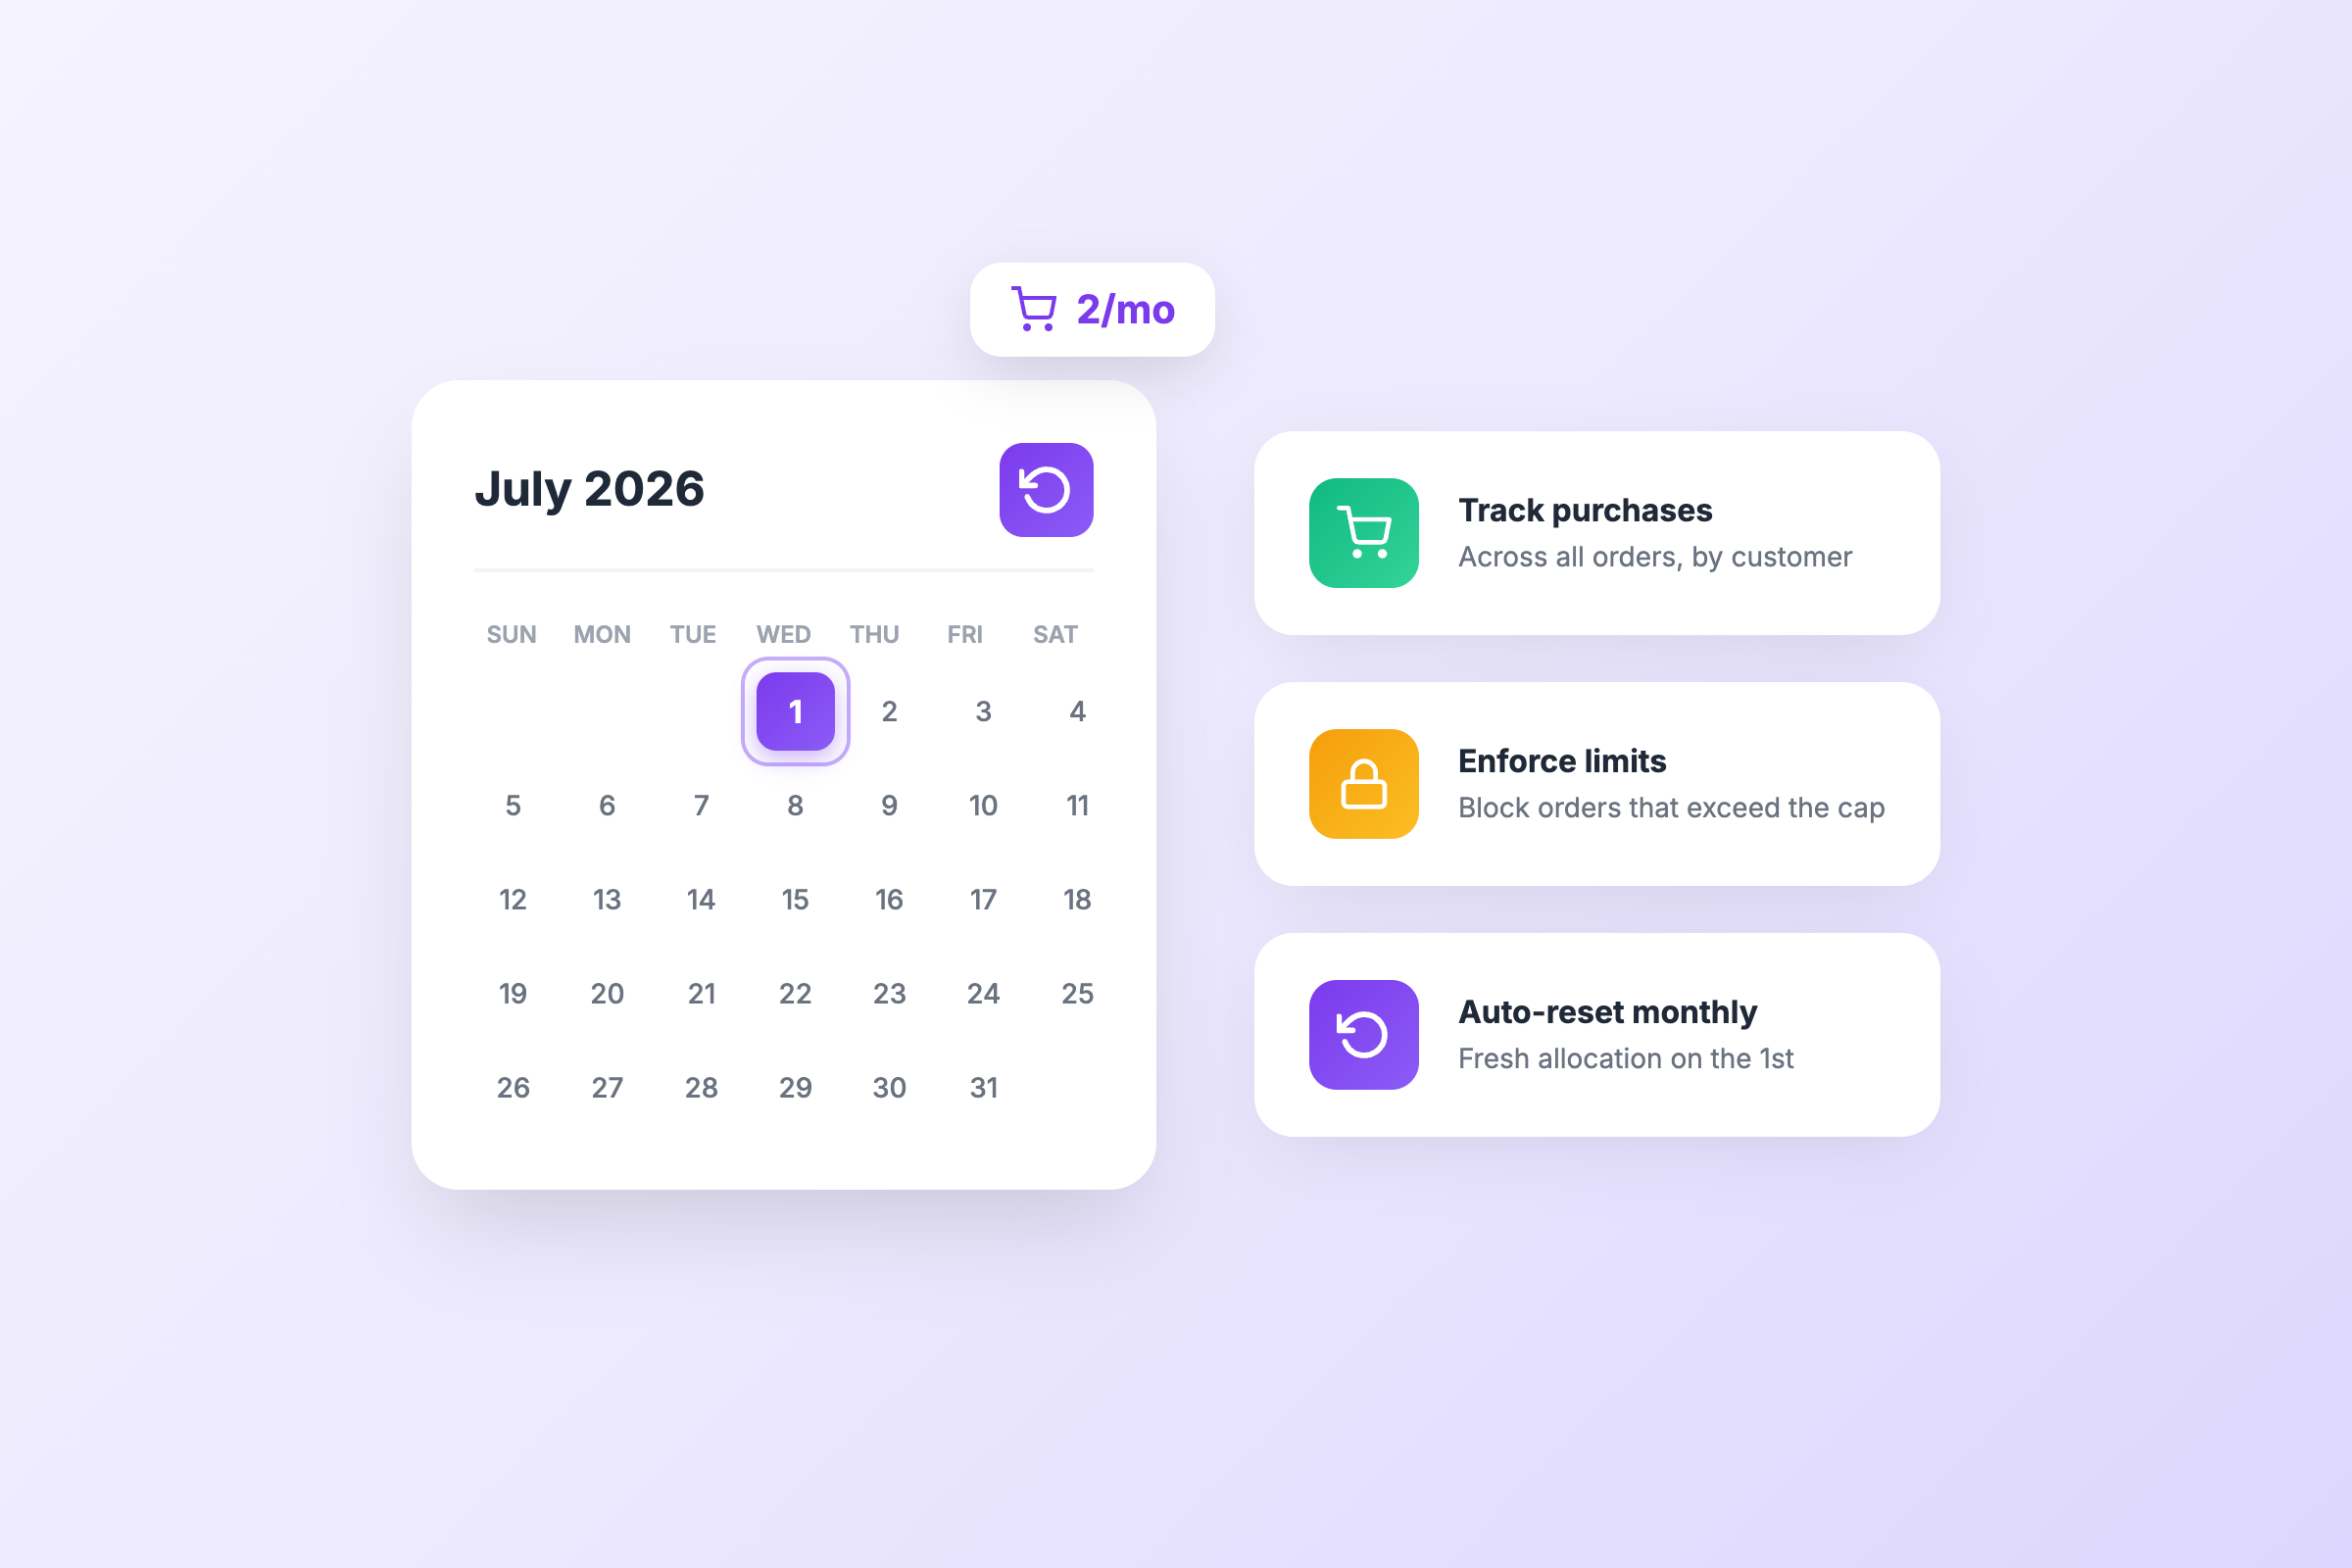
Per-order caps only see the current checkout. A buyer can hit your limit, complete the order, and come back for more in a new session. Cart limits reset every time.
Lifetime purchase limits track what each customer has bought across all their orders. Once they hit the cap, they cannot buy more, even if they return later.
This matters most during flash sales where resellers and bulk buyers show up specifically because inventory is limited and discounted. See the full guide on how to use order limits during busy sales months.
DC Order Limits handles this through its Customer Limits feature. You set a maximum total quantity per customer, and the app tracks purchase history automatically.
- Customer lifetime limit rule created
- Applied to sale products
- Customers required to be logged in (recommended for accurate tracking)
For stores running drops where each person should get exactly one chance, see how to limit purchases to 1 per customer on Shopify and the lifetime purchase limits feature.
4. Set a minimum order value
Deep discounts attract small orders. When you’re shipping a $6 item with free shipping, that order costs you money to fulfill. Multiply it by hundreds of orders and your sale volume looks great while your margin disappears.
A minimum cart value keeps every order worth fulfilling. In DC Order Limits, add a minimum price rule and set it at your break-even point, or align it with your free shipping threshold.
When a customer’s cart falls below the minimum, they see an error message. You can customize this message to explain what they need to add.
- Minimum order value set
- Error message is clear and helpful
- Tested to confirm it blocks checkout at the right amount
5. Set a maximum order value
Unusually large orders during a sale are often fraud. A new customer placing a $2,000 order with expedited shipping to an unfamiliar address is a risk worth capping.
In DC Order Limits, add a maximum price rule. Set it above what a legitimate customer would spend in a single order. Most real buyers won’t hit this cap, but it limits your exposure from a single fraudulent transaction.
- Maximum order value set
- Set high enough not to affect legitimate orders
- Plan in place to manually review orders that approach the cap
Phase 2: Bot and scalper protection
6. Require customer accounts for limited items
Guest checkout is convenient under normal conditions. For a flash sale on limited inventory, it makes tracking harder and bot attacks easier.
Requiring login adds friction for automated scripts. More importantly, it lets lifetime purchase limits work accurately. Without login, customer purchase limits cannot track guests at all. Guests will either check out without restrictions or get blocked at the door, depending on how you configure the rule.
In Shopify, go to Settings, then Checkout, then Customer accounts. For specific products, you can set the customer eligibility in DC Order Limits to “Logged in customers” only.
- Login required for sale products (or store-wide)
- Customer accounts page communicates the requirement clearly
For more protection tactics, the bot prevention guide covers the full picture.
7. Review your purchase limit rules for gaps
Go through your existing rules and check whether any of them could interact in unexpected ways. A common issue: a broad rule applies to all products, but a more specific rule on sale items is overridden or conflicting.
Test your checkout as a logged-in customer using a staging store or a variant you can safely order. Confirm limits trigger at the right thresholds and that error messages display correctly.
- No conflicting rules across your rule set
- Rules tested with actual test orders
- Error messages visible and easy to understand
Phase 3: Discount and pricing setup
8. Check discount code scope
Discount codes that apply store-wide can cause problems if they apply to products you did not intend to include in the sale. Review each active discount code and confirm which products, collections, and customer groups it applies to.
If you are running multiple promotions at once, check whether Shopify’s combination settings are set the way you expect. Some discount types can stack in ways you did not plan for.
- Each active discount code has the correct scope
- Combination settings reviewed
- Discount start and end times are set correctly (with timezone confirmed)
9. Test the discount on a real cart
Add the sale products to a cart and apply the discount code yourself. Confirm the price shows correctly, the error message appears if the code is invalid, and the discount applies only to the intended products.
Do this from a browser where you are not logged into your admin account, so you see exactly what a customer sees.
- Discount code applies to correct products
- Percentage or flat amount is correct
- Code does not apply to excluded products
- Tested from a customer-facing browser session
Phase 4: Checkout and payment validation
10. Verify your payment methods
Go to Settings, then Payments, and check that all active payment methods are configured correctly. Confirm that any payment methods you do not want to offer during the sale are either hidden or removed.
If you use Shopify Payments, confirm that your account is in good standing. A payment issue mid-sale creates a serious problem.
- All payment methods reviewed
- Methods not intended for this sale are removed or hidden
- Shopify Payments account in good standing
11. Review shipping rates and methods
Check your shipping zones, rates, and any conditions you have set. If you are offering a promotional free shipping threshold, confirm the rate is set up correctly and the minimum is consistent with your minimum order value rule.
If you are running the sale in specific markets only, check that your shipping rates apply to those markets correctly.
- Shipping rates match what you are advertising
- Free shipping threshold aligns with your minimum order rule
- International shipping rates reviewed if applicable
Phase 5: Storefront and messaging
12. Update your announcement bar and product pages
Customers should see sale messaging before they reach checkout. An announcement bar with the sale terms, end date, and any purchase limits helps set expectations and reduces confusion.
On product pages, make any purchase limits visible. If a customer knows the limit before adding to cart, they are less likely to be frustrated when the error appears at checkout.
- Announcement bar shows sale terms and end date
- Product page copy mentions any purchase limits
- Sale badge or label applied to sale products
13. Check your theme for mobile issues
A significant portion of flash sale traffic comes from mobile. Go through the full checkout flow on a phone, including adding a product, applying a discount, and reaching the payment step. Look for layout issues, buttons that are hard to tap, or error messages that do not display correctly.
- Checkout tested on mobile (iOS and Android if possible)
- Error messages visible on small screens
- Announcement bar readable on mobile
During the sale
14. Monitor your order feed in real time
Keep your Shopify admin open during the first hour of the sale. Watch for unusual order patterns: one customer placing multiple orders in rapid succession, orders with mismatched billing and shipping addresses, or very large orders from new accounts.
Flag orders that look suspicious before they ship. It is much easier to cancel an order before fulfillment than to recover the goods afterward.
- Someone is watching the order feed during launch
- You have a clear process for flagging and holding suspicious orders
- Support inbox is monitored for customer questions about limits
After the sale
15. Run a post-sale review
Once the sale closes, spend 30 minutes reviewing what happened.
Look at your order data: which products sold fastest, whether limits triggered as expected, and whether you saw any patterns that suggest abuse. Check your support inbox for any complaints about limits or checkout errors.
This review is what makes the next sale easier. If your maximum quantity was too high and one customer bought eight units, lower it for next time. If your minimum order value caused too many abandoned carts, adjust the threshold.
- Order volume by product reviewed
- Limit trigger data reviewed (DC Order Limits tracks this in the usage dashboard)
- Adjust rules based on what you learned
- Disable or archive sale-specific rules once the promotion ends
Putting it together
This checklist takes about two hours the first time through. Once you have done it once, you will have a baseline configuration to copy for future sales.
The settings that matter most are the ones in phases 1 and 2: inventory caps, per-customer limits, and minimum order values. Everything else supports those core rules.
If you are running a BFCM sale or a product drop with limited stock, add the bot protection checks in phase 2 to your list. Those are the settings that prevent one bad actor from ruining the experience for everyone else.
DC Order Limits handles the purchase limit side: per-order caps, customer lifetime limits, minimum and maximum values, and custom error messages. You can set rules using product tags so they apply automatically to your sale items without selecting products one by one.
Run through this list 48 hours before launch. That gives you time to find and fix problems while you still have room to fix them.